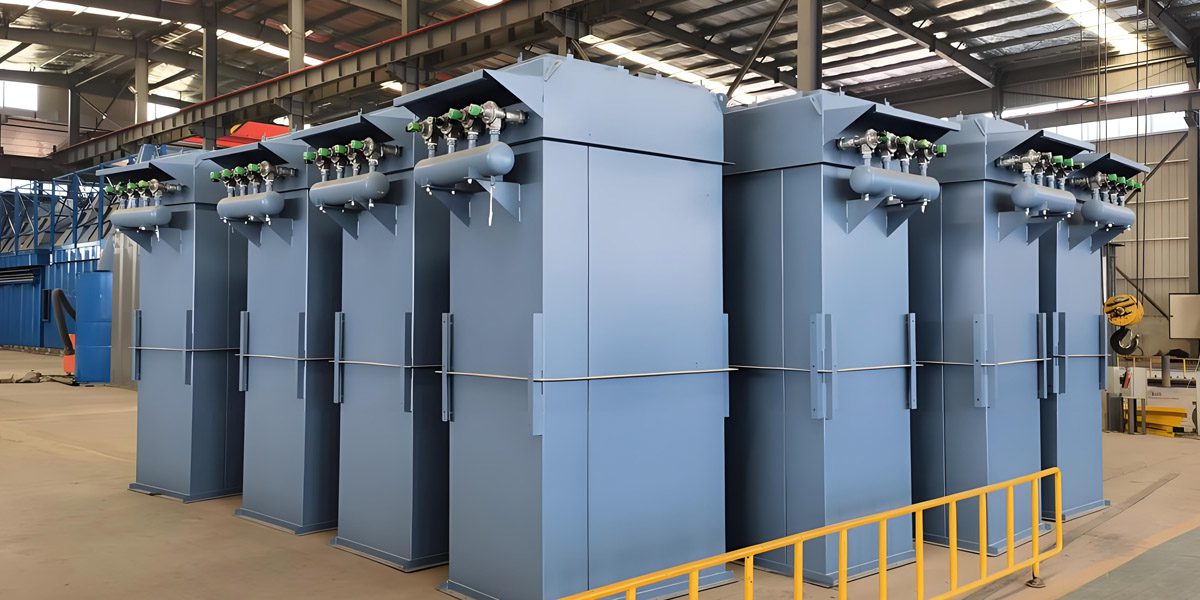
Installing a single machine bag dust collector is crucial for maintaining clean air in industrial facilities and ensuring OSHA compliance. This industrial dust collection system requires careful preparation and proper installation techniques to achieve optimal dust removal efficiency. Follow our step-by-step guide to ensure safe and effective installation of your baghouse dust collector.
1. Pre-Installation Preparation for Your Dust Collector
Before installing your industrial bag filter, complete these essential steps:
Location Selection
Choose an optimal position near dust generation points to minimize ductwork pressure loss and improve dust capture efficiency.Site Preparation
Clear all debris and ensure proper foundation stability for your pulse jet dust collector.Component Inspection
Verify all parts of your bag filter system are undamaged, including filter bags, pulse valves, and hopper assemblies.Tool Preparation
Gather necessary tools: wrenches, screwdrivers, lifting equipment, and sealing materials.
2. Foundation Installation for Industrial Dust Collectors
A stable foundation ensures long-term dust collector performance and reduces vibration issues.
✔ Level the Base – Use a laser level for precision
✔ Reinforce Structure – Ensure adequate load-bearing capacity
✔ Anti-Vibration Pads – Minimize operational noise
3. Ash Hopper Assembly for Baghouse Systems
The dust collection hopper must be securely installed to prevent dust leakage:
Seal with High-Temperature Gasket
Check for Proper Alignment
Test Discharge Mechanism
4. Filter Bag Chamber Installation
Proper filter bag installation is critical for maximum filtration efficiency:
✅ Align Bag Frames Correctly
✅ Secure with Stainless Steel Clamps
✅ Verify Pulse Cleaning Nozzle Positioning
5. Pulse Jet Cleaning System Setup
The pulse valve dust collector system requires precise installation:
Connect Compressed Air Lines (80-100 PSI recommended)
Program Control Timer (15-30 second intervals)
Test Solenoid Valves
6. Ductwork Connection for Industrial Ventilation
Proper ducting installation ensures optimal airflow:
➔ Inlet Duct Design – Maintain 3500-4500 FPM velocity
➔ Outlet Configuration – Minimize static pressure loss
➔ Use Flexible Connectors – Reduce vibration transfer
7. Electrical Wiring & Control Panel Setup
Follow NFPA 70E standards for electrical safety:
⚠ Verify Voltage Compatibility (480V/3-phase common)
⚠ Ground All Components
⚠ Program PLC Controls (For automated systems)
8. System Testing & Performance Validation
After installation, conduct comprehensive testing:
✧ Leak Detection Test (Use smoke pencil)
✧ Air-to-Cloth Ratio Verification (Typically 4:1)
✧ Emission Testing (EPA Method 5 for compliance)
9. Maintenance Schedule for Long-Term Reliability
Extend your dust collector lifespan with proper care:
🔧 Daily: Check pressure differential
🔧 Weekly: Inspect filter bags
🔧 Monthly: Clean hoppers
🔧 Annually: Replace worn components
By following these steps, users can correctly and safely complete the installation of the single machine bag dust collector. During the installation process, always pay attention to safety and detail to ensure normal operation and optimal performance of the equipment.For more information or support, please feel free to contact us.